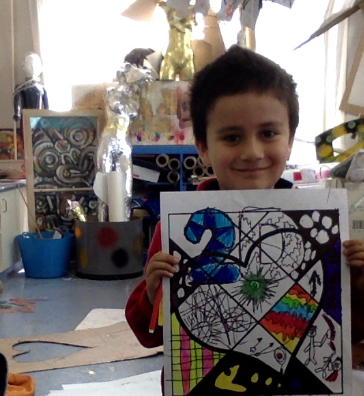
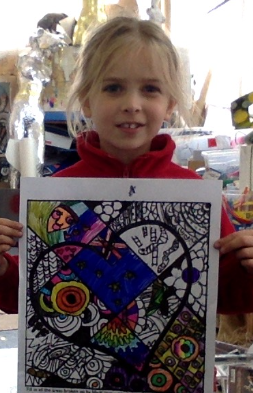
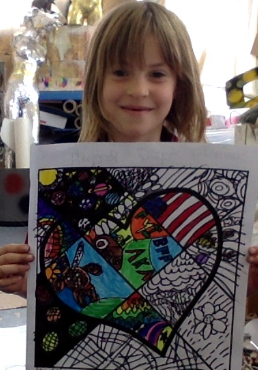
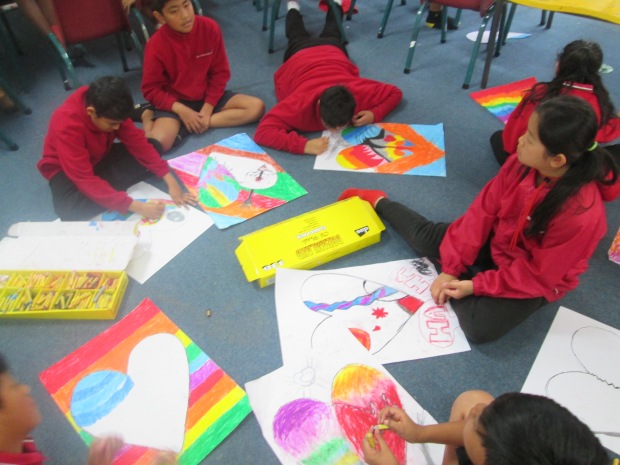
Before beginning the lesson, show images of Jim Dine’s heart paintings as well as other images of hearts. Give thema few minutes to respond to the images. Encourage comparisons and contrasting statements as well as descriptions of what they see.


About the Artist
Jim Dine was “ Born in 1935 at Cincinnati, Ohio. He studied at the University of Cincinnati and at the Boston School of Fine and Applied Arts in Boston, Massachusetts from 1953 to 1957. In 1957 he received a Bachelor
of Fine Arts degree from the Ohio University, Athens. He moved to New York in 1959. As one of the founding popartists, he staged his rst Happenings with Claes Oldenburg and Allan Kaprow at the Judson Gallery, New York. He had his rst one-man exhibition at the Reuben Gallery, New York. Between 1960 and 1965 he had various guestprofessorships, among others at Yale University, New Haven, and Oberlin College, Ohio. He was represented at

the Venice Biennale in 1964, and at the documenta “4” in Kassel in 1968. Since 1967 he has taught at the College
of Architecture, Cornell University, Ithaca, New York. He lives in New York and London. In his paintings, drawings, sculptures, graphics, collages and assemblages he combined different techniques with handwritten texts and wordsand set real everyday objects against unde ned backgrounds. The objects were both commonplace and personal, both poetic and ironic, re ecting his own feelings about life such as his series of hearts. His constantly varied bathrobe,transparent to the gaze of the world, was a kind of metaphor for a self-portrait. In the 70s he turned to representational painting of a traditional kind.”
Visual Arts Students will:
• Learn about the artist Jim Dine, a pop artist who was in uenced by hearts.• Learn about art techniques of value and shading.
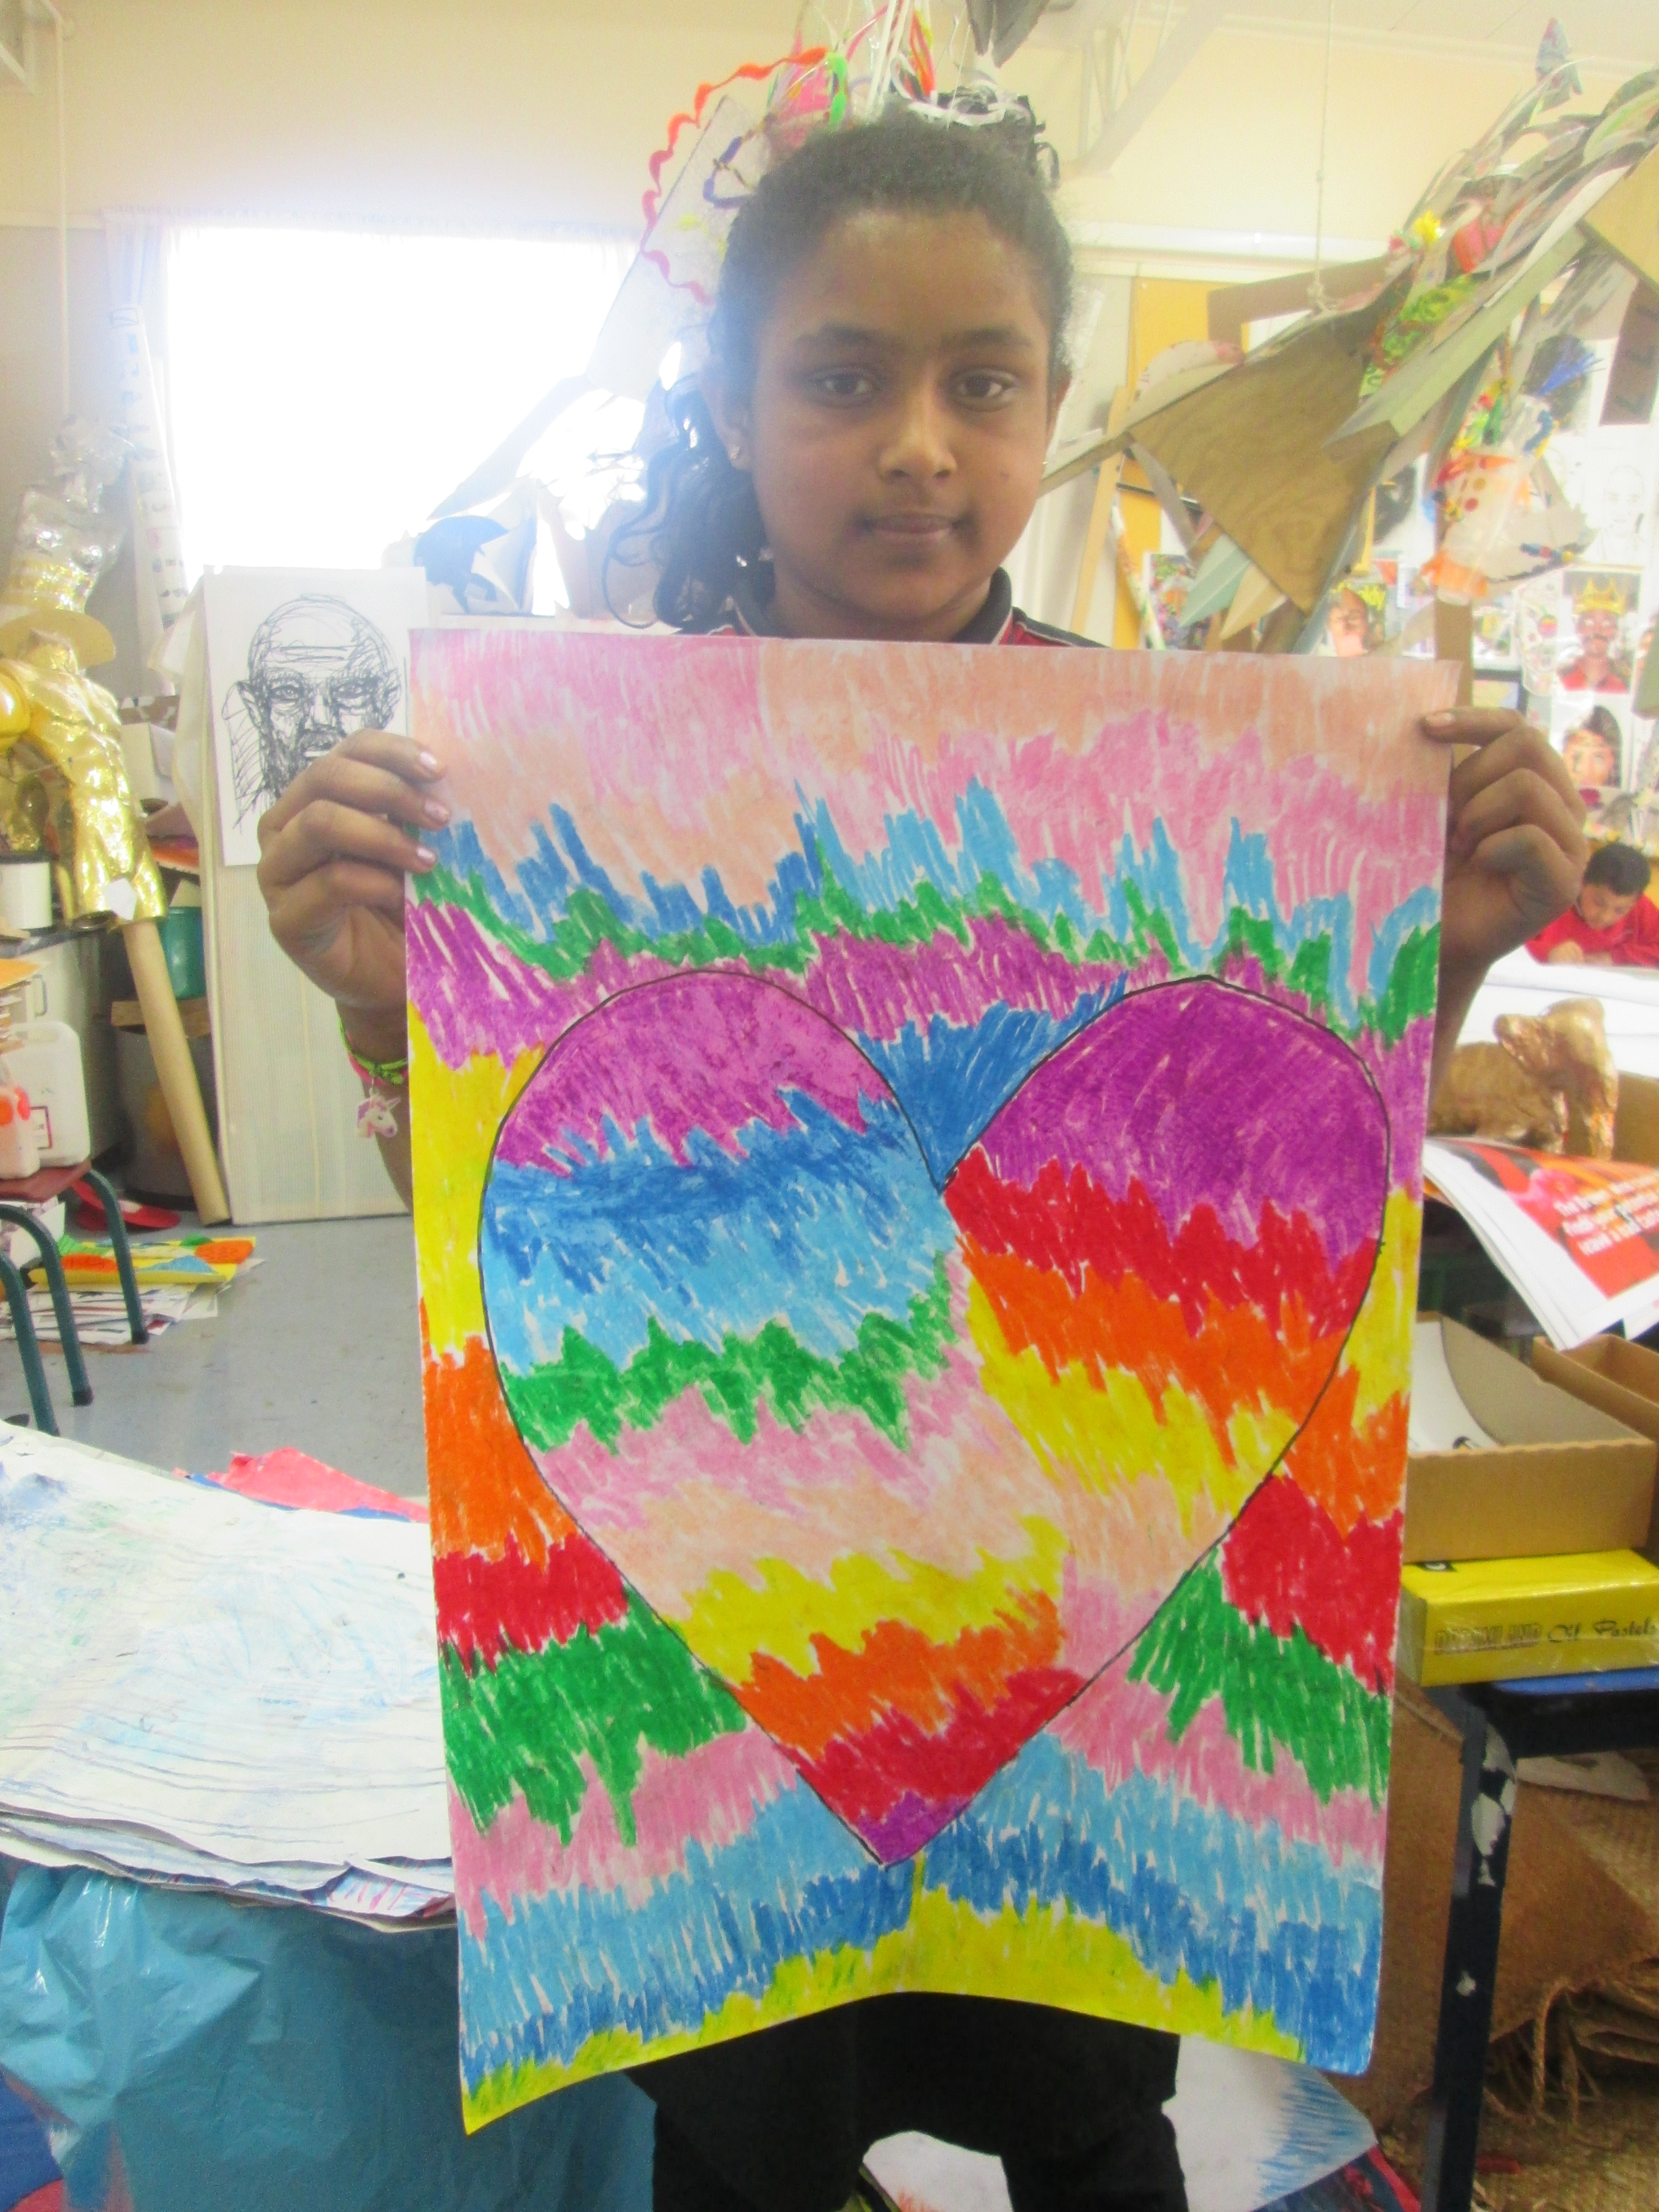
• Draw hearts both singular and intersected
• Understand shape and form.
• Understand how value and shading can create dimension
• Experiment with colour and contrast
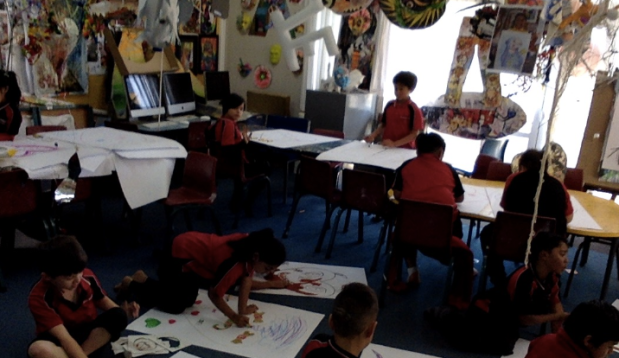


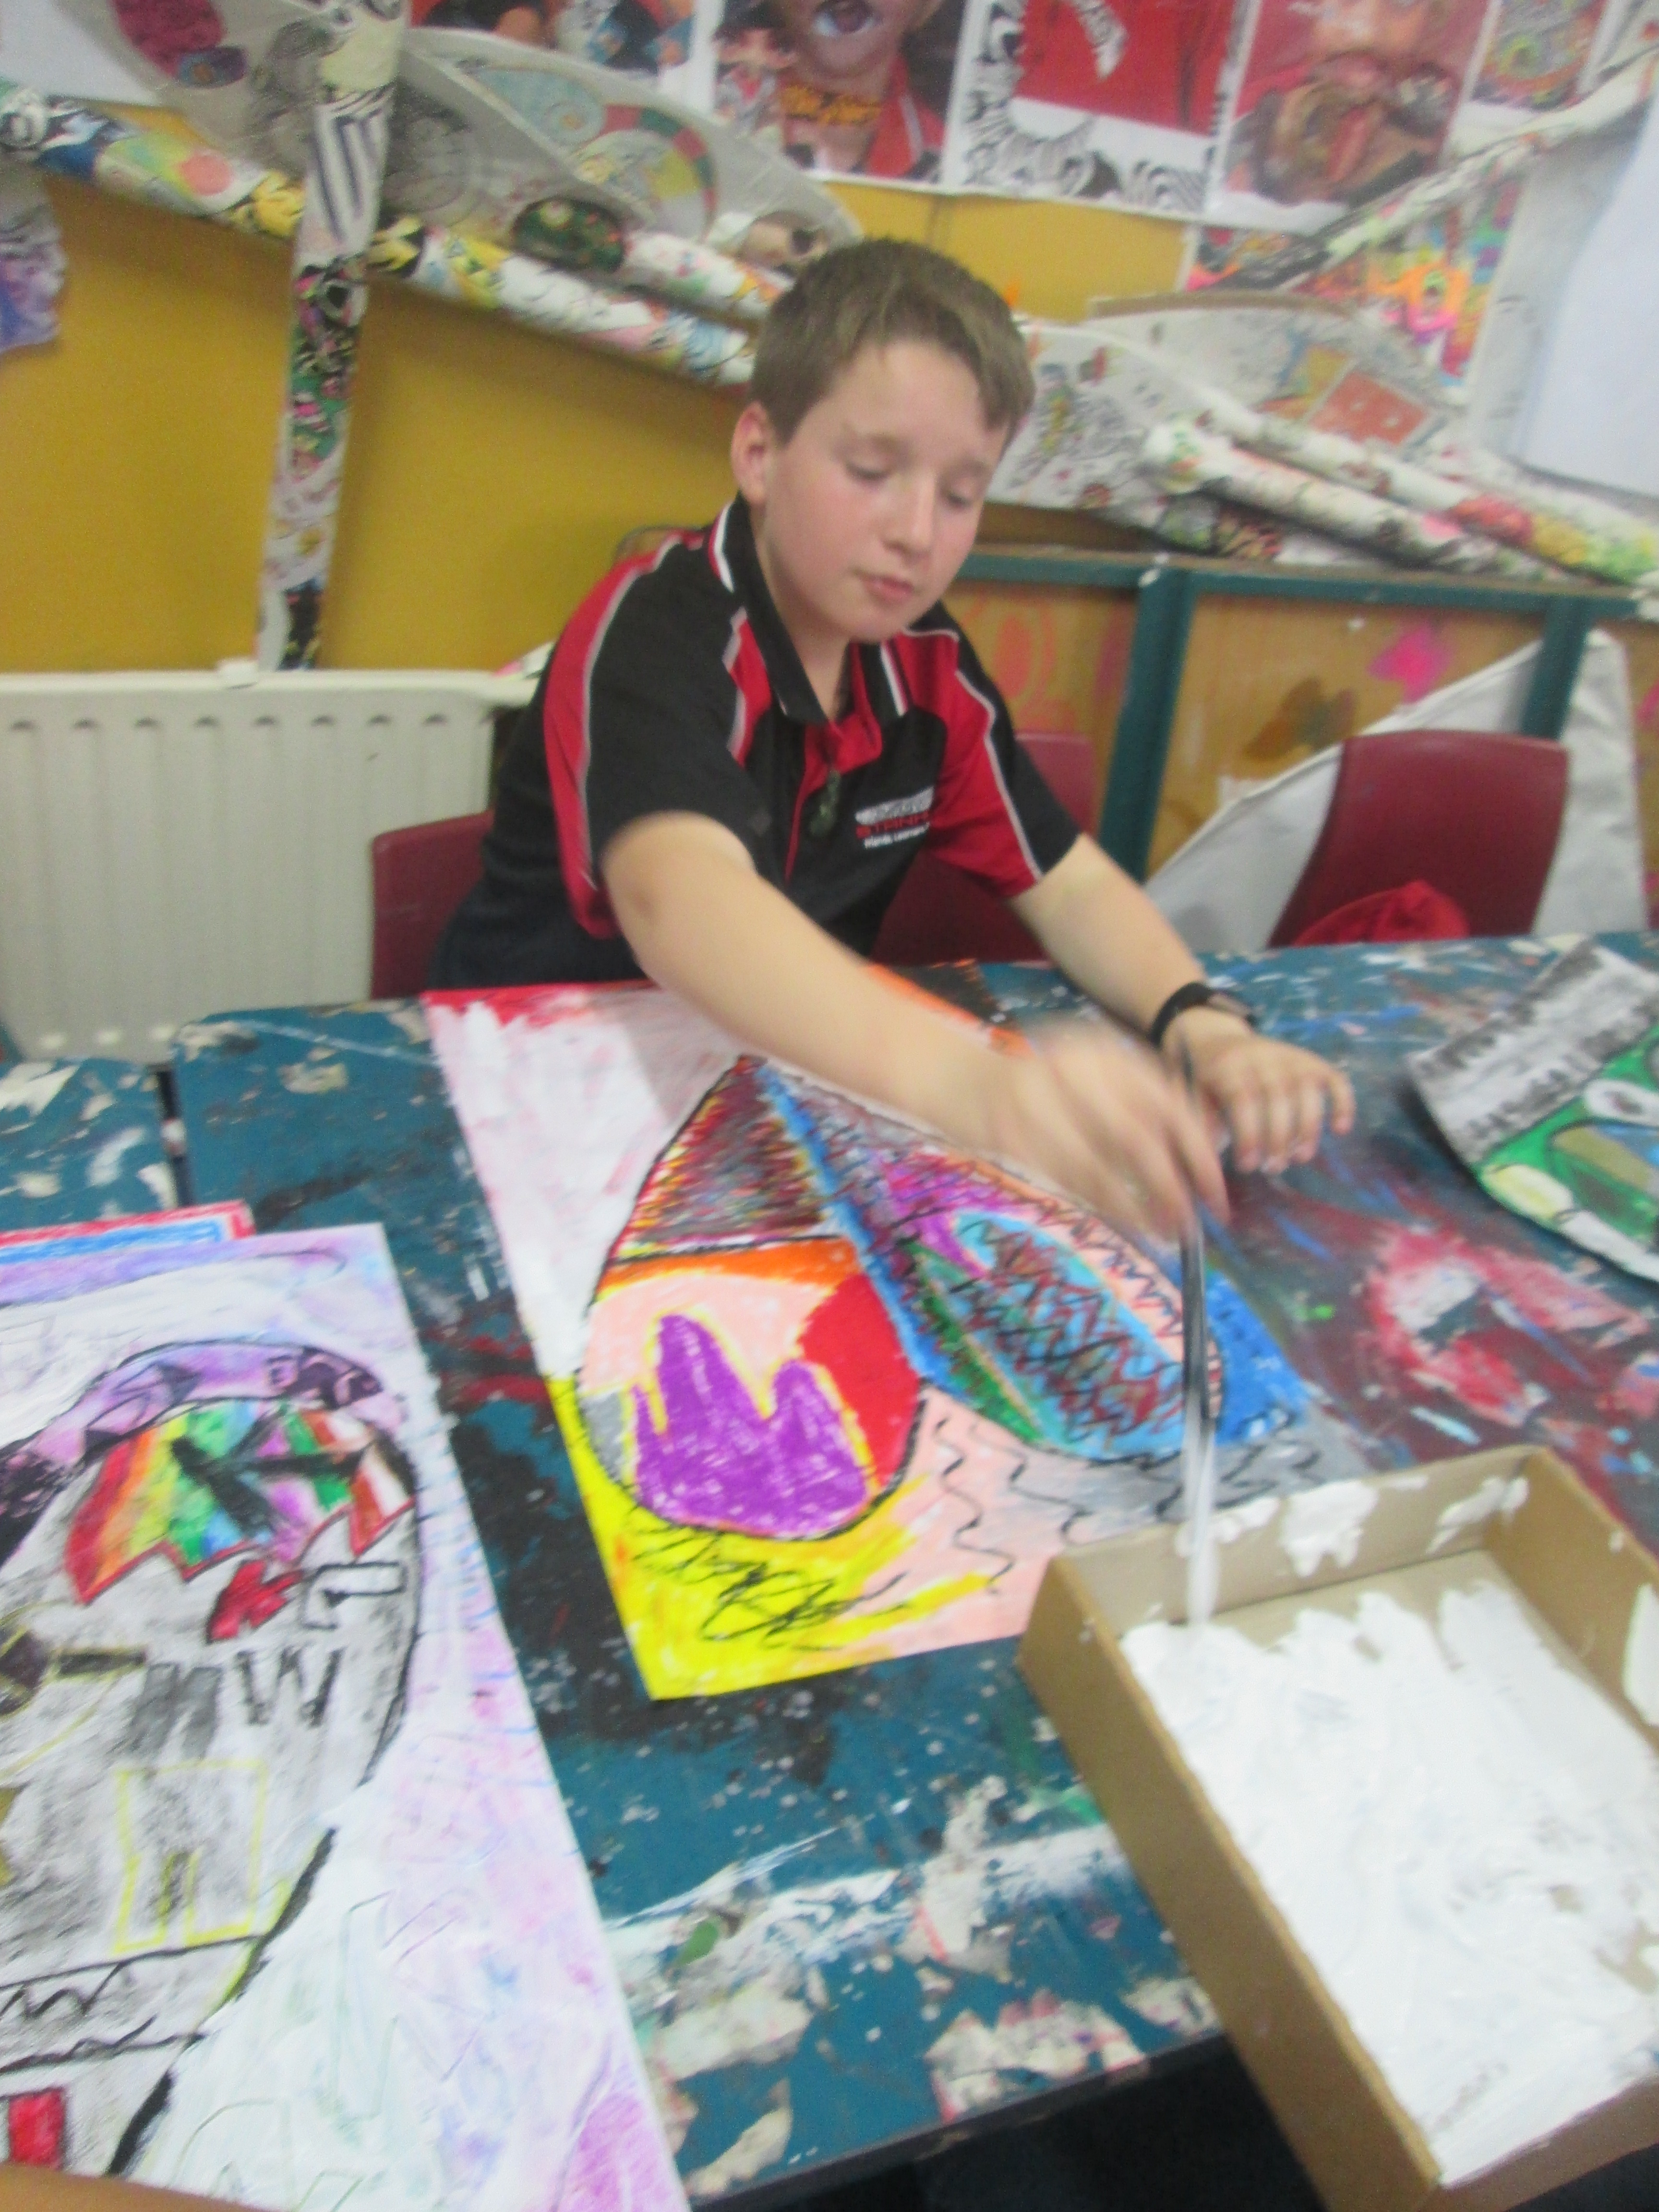
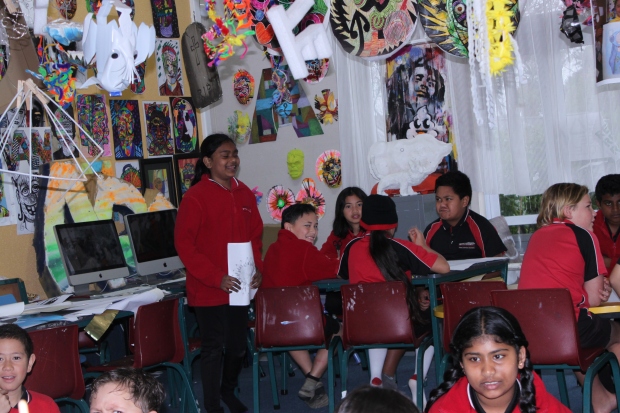
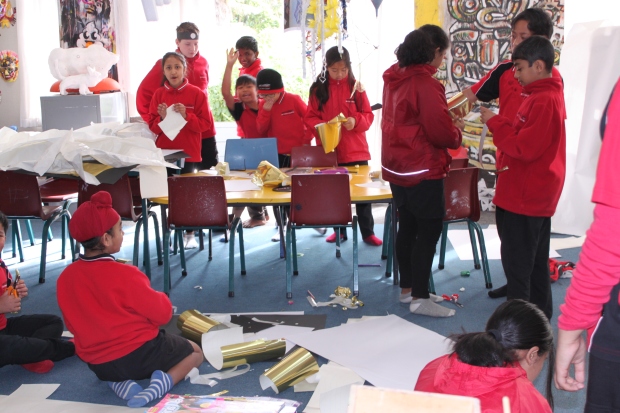
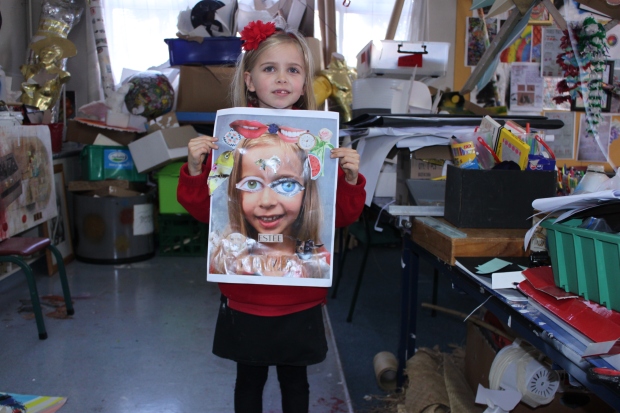
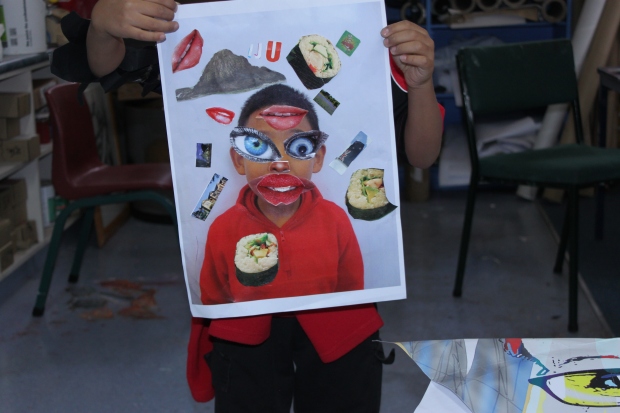
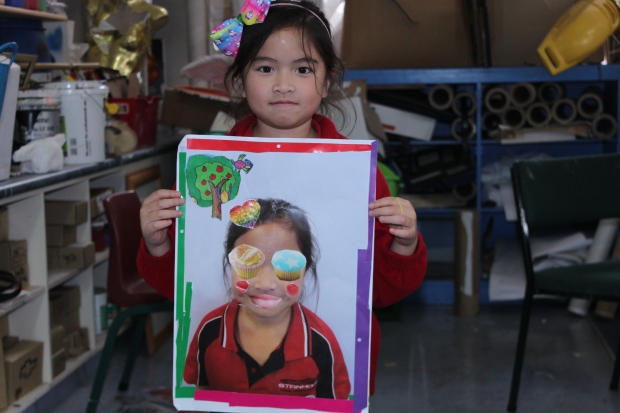
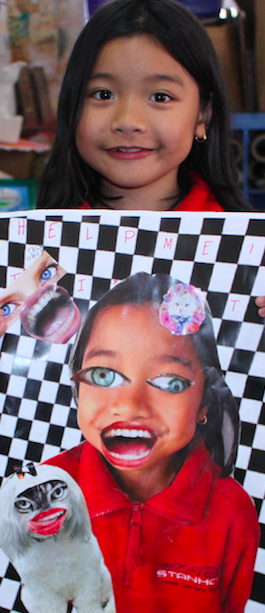
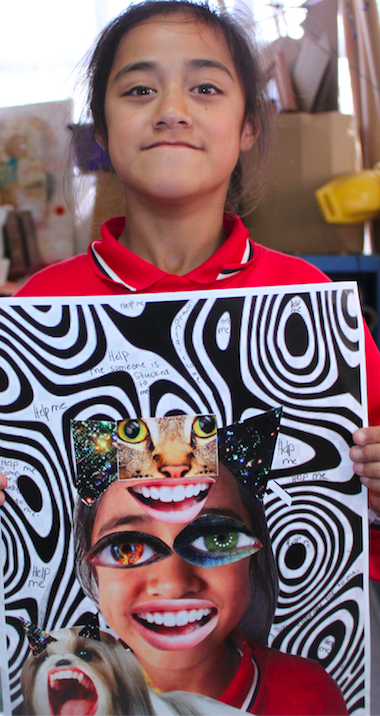
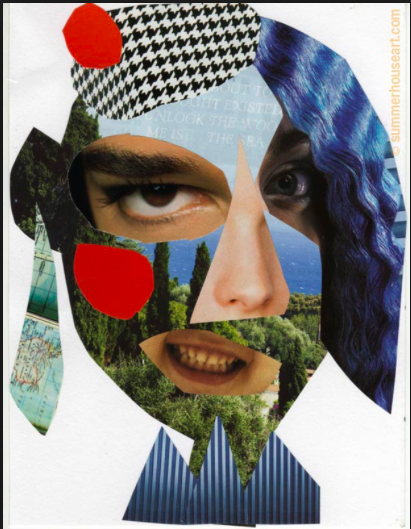
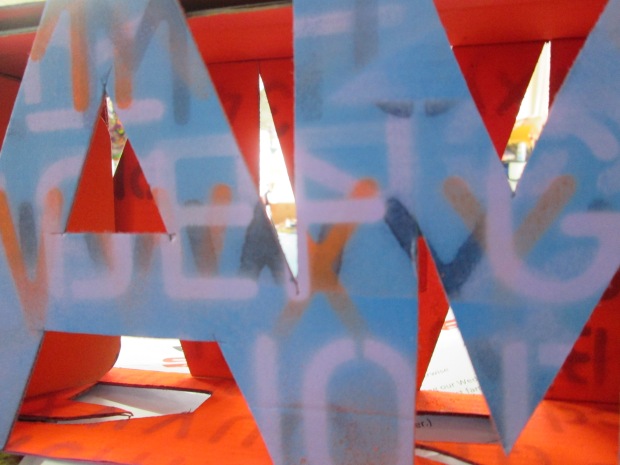
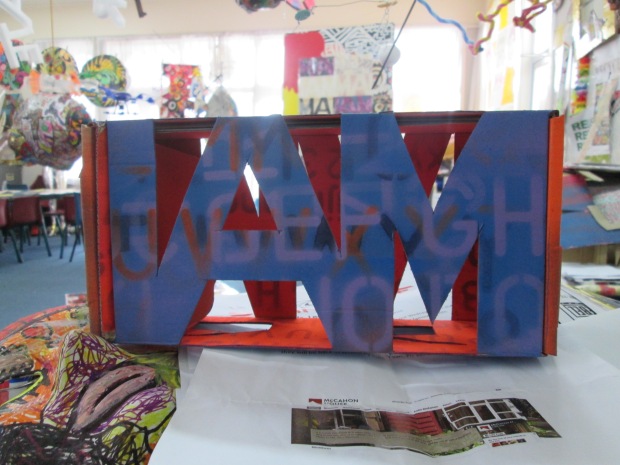
Play idea: Collage – Mahi toi
Children create art and patterns by arranging different pieces of
material in different shapes. These are then glued onto paper or cardboard.
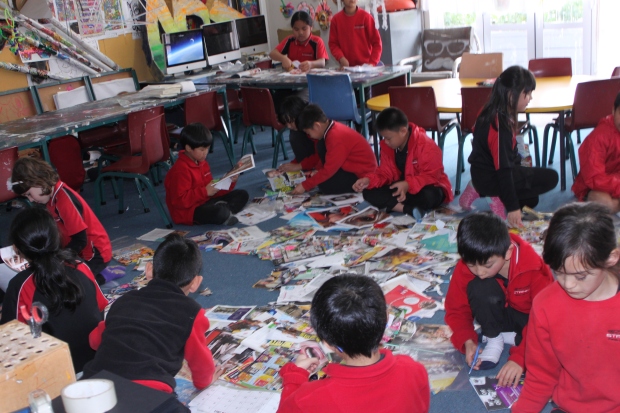
Collage can help children to:
- learn skills such as gluing, sticking, taping, stapling, cutting, tearing
- experiment with different resources
- socialise with other children as they share materials and tools
- be creative and learn about design, patternmaking, dimension and composition
- gain concentration skills
- learn to solve problems and develop their own ideas.
Support children by:
- keeping spaces and materials tidy and uncluttered
- making sure there is enough equipment and that it is in working order
- having a wide variety of resources available
- talking and listening to them
- using rich descriptive language when talking with them about what they are doing and the equipment and materials they are using
- showing them how to use tools, such as scissors and staplers, properly and safely
- talking with them about environmental sustainability and respecting nature.
Providing for Collage
A large, flat table low enough for children to work on and around is useful. Keep collage items in separate containers, well stocked and displayed next to the table (not on it). This allows children to help themselves and have an uncluttered space to work at. Children can use collage materials outside as well as inside.
Ideas for equipment
- tools such as strong glue, round-ended scissors, staplers, tape, string
- large and small boxes, cartons, tubes, containers, lids
- paper and cardboard – white, coloured, lined, unlined, greeting cards, envelopes, crepe, silver, cellophane, magazines
- string, cord, wool, tape, twine (all colours and thicknesses


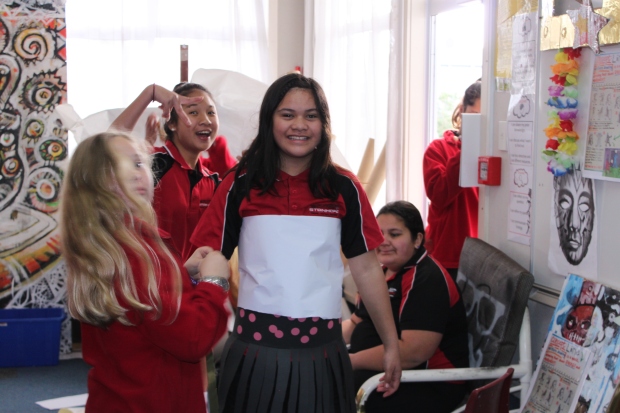
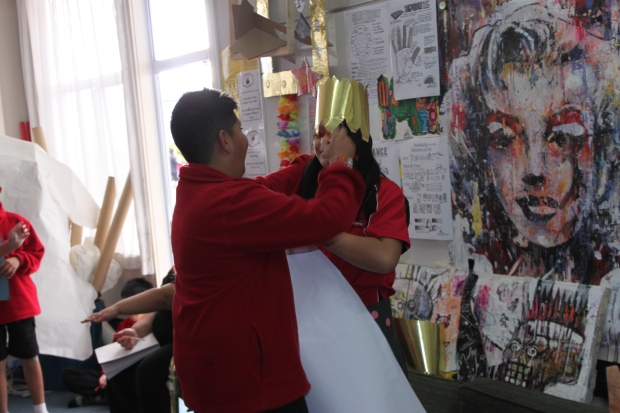
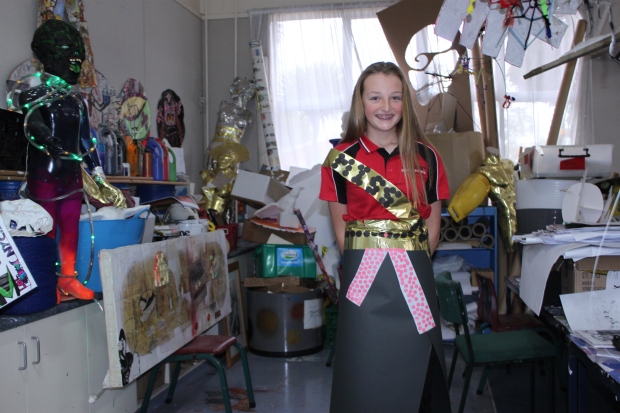
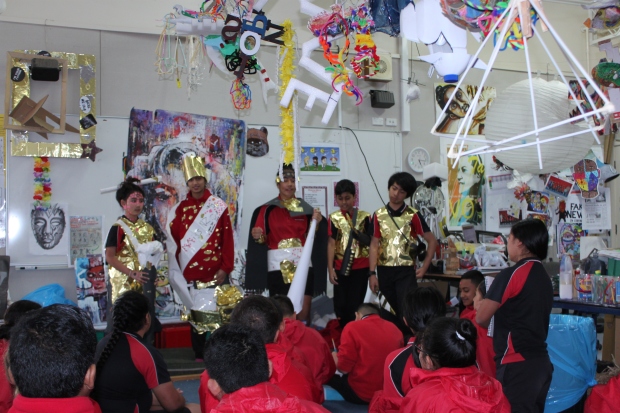
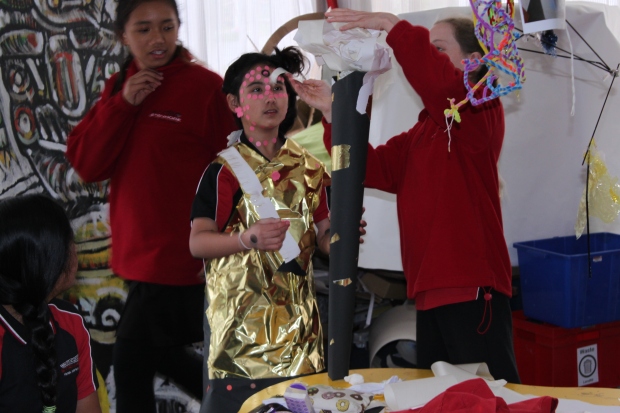
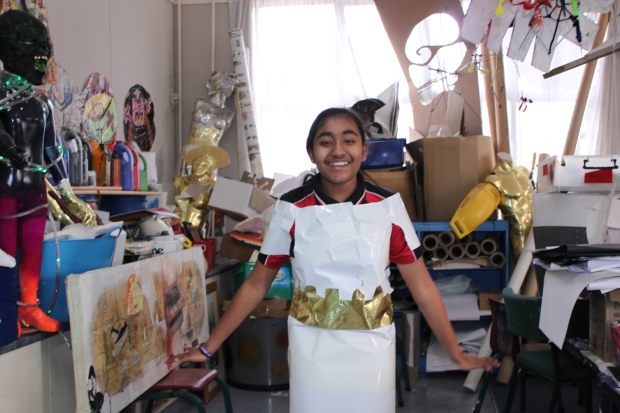
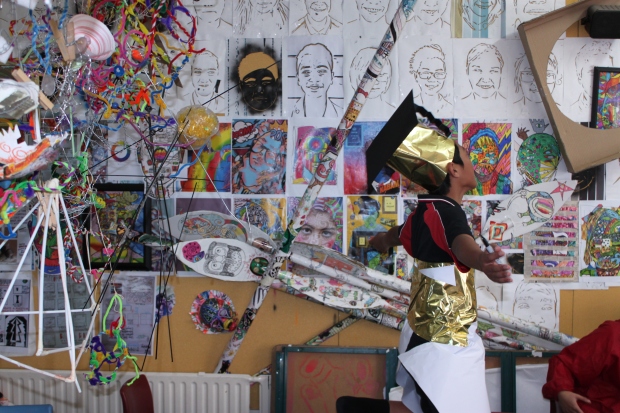
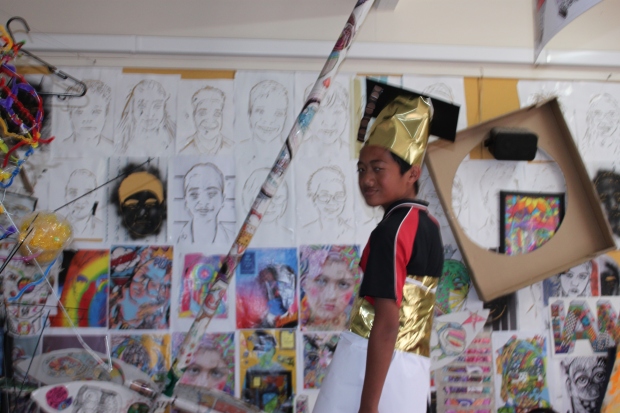
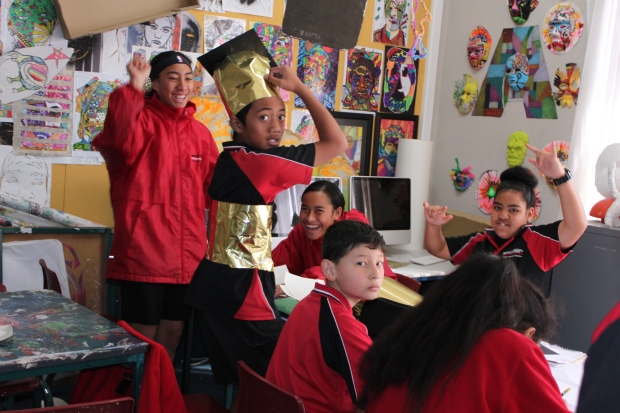
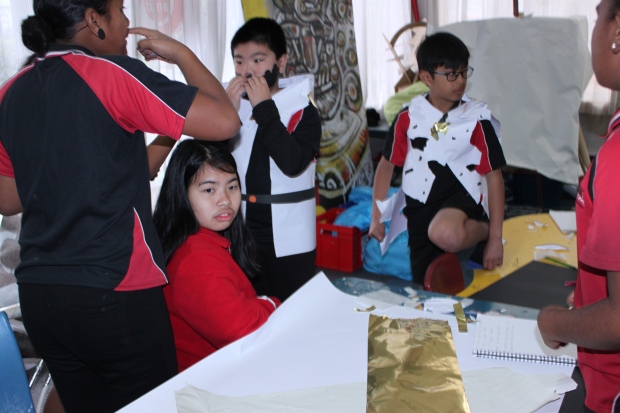
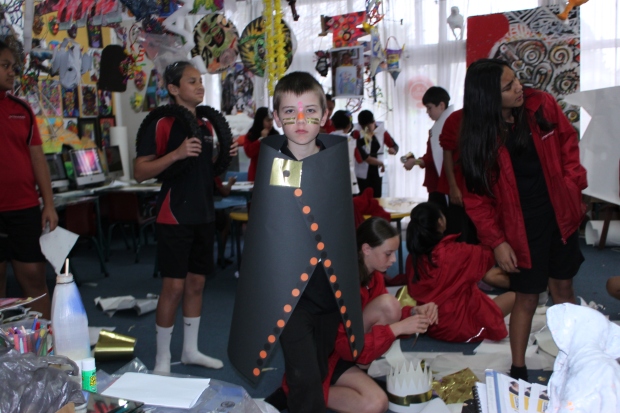
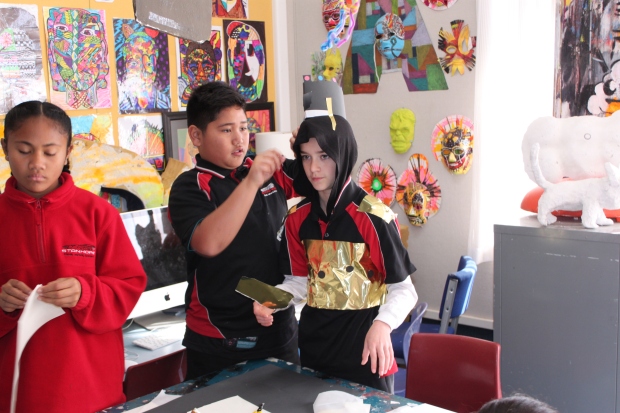
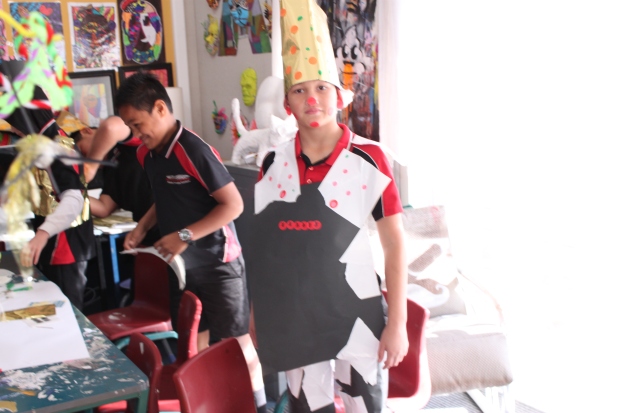
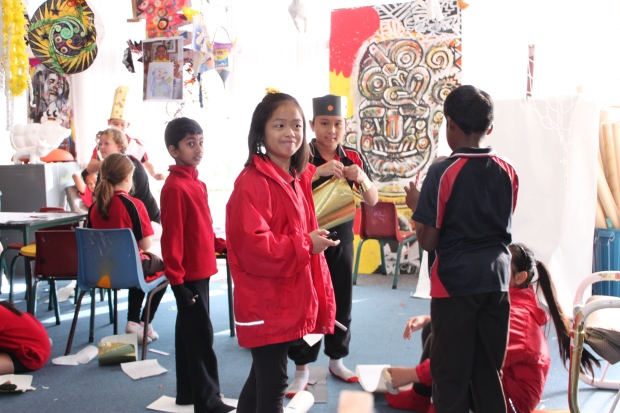
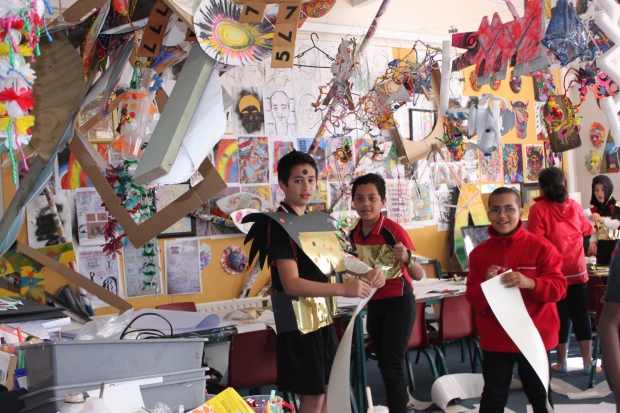
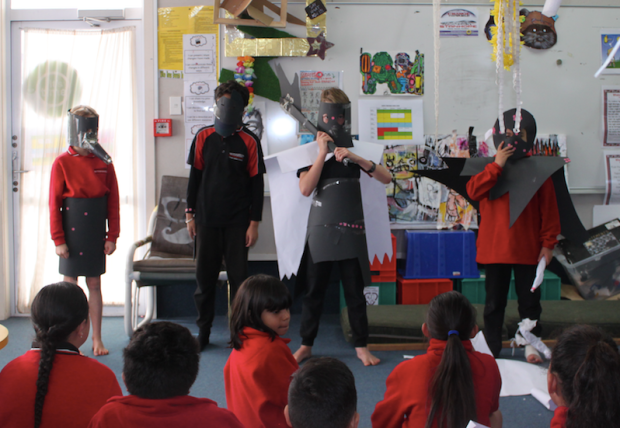
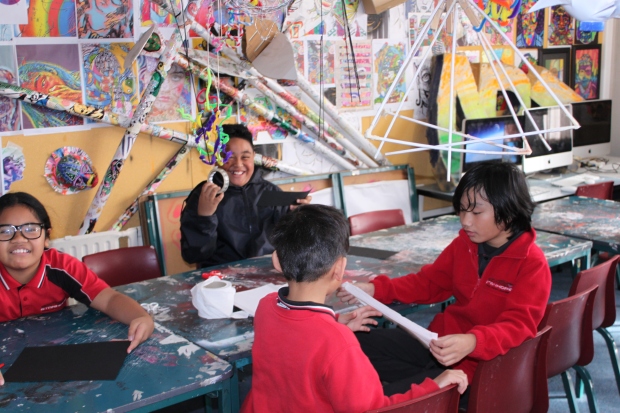
Fashion Show
Materials: Newspaper, masking tape, straws, and construction paper
Objective: Students will practice communication skills and creativity to complete the task
Divide students into groups of 5-7
Give each group a bag with the following materials: newspaper, masking
tape, straws, and construction paper. Each group should have identical
supplies in their bags.
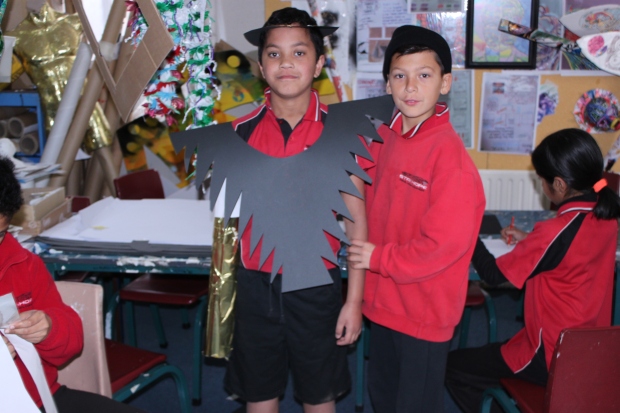
Each group must design an outfit (dress, suit, pants/shirt, etc.)
They will have 60 minutes to complete the task
When all the groups have completed the task have a fashion show
Have one student from each group introduce their model and describe their
outfit
** This activity can also be done with rolls of toilet paper
Debrief Questions:
Although everyone was given the same materials, why are the outfits all different?
Was this activity challenging? If so, why?
What skills did your team need to complete the task?


\


 term 2 2017.


 .
.


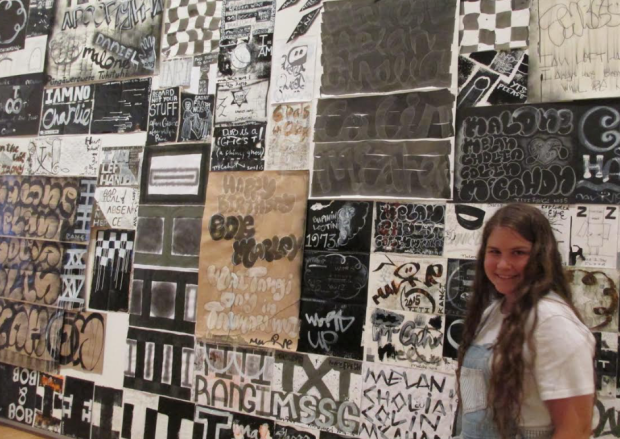
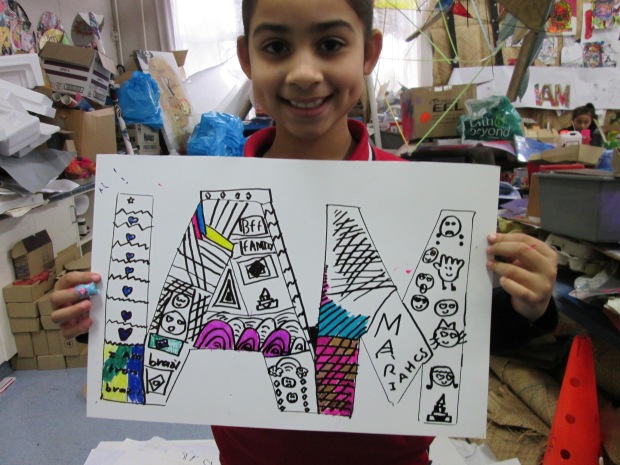
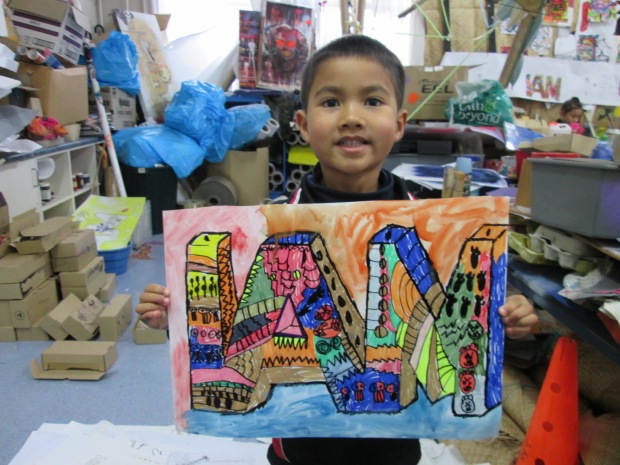
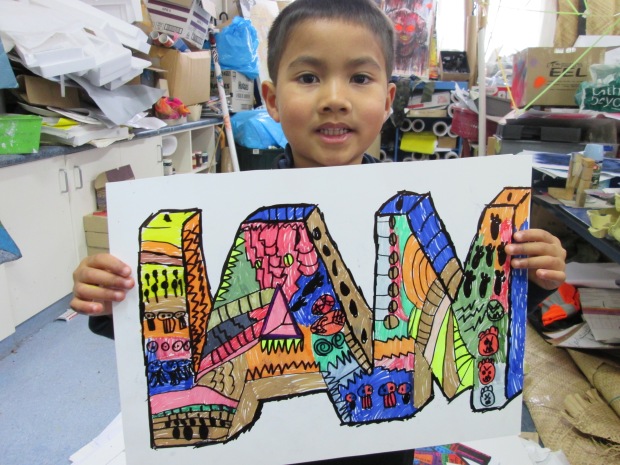
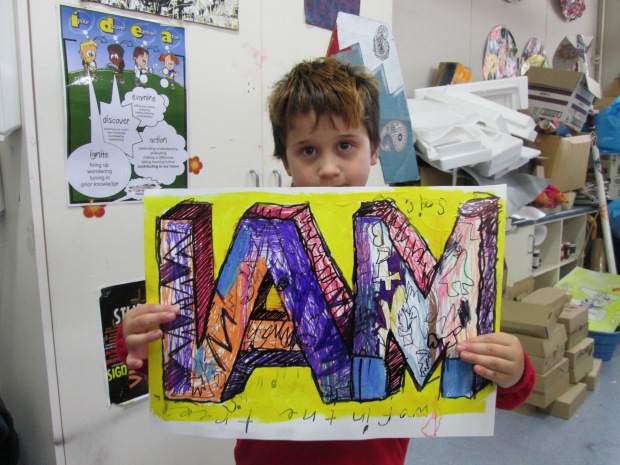
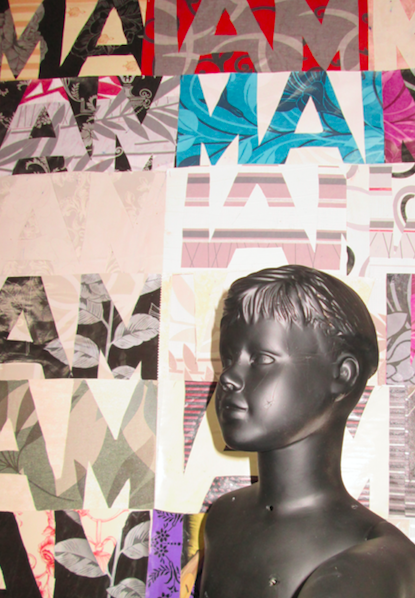
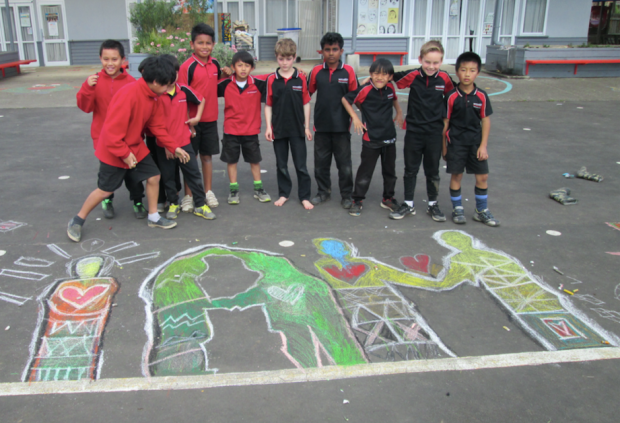
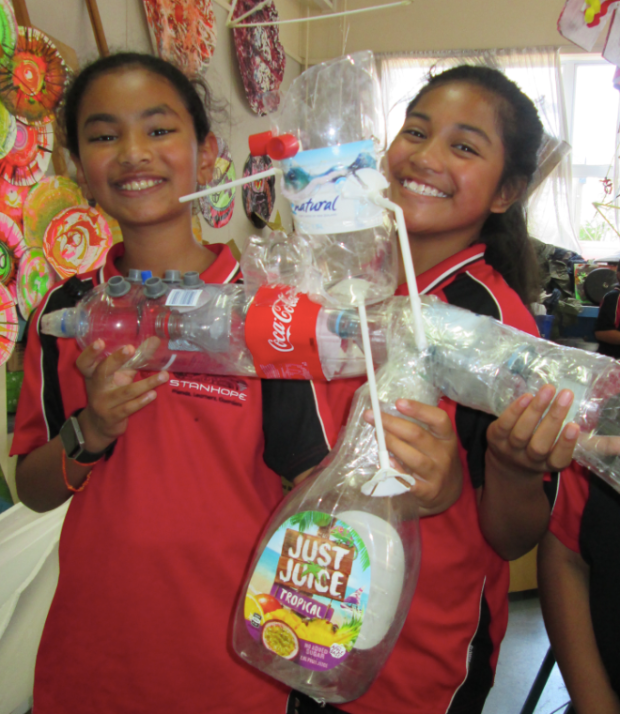
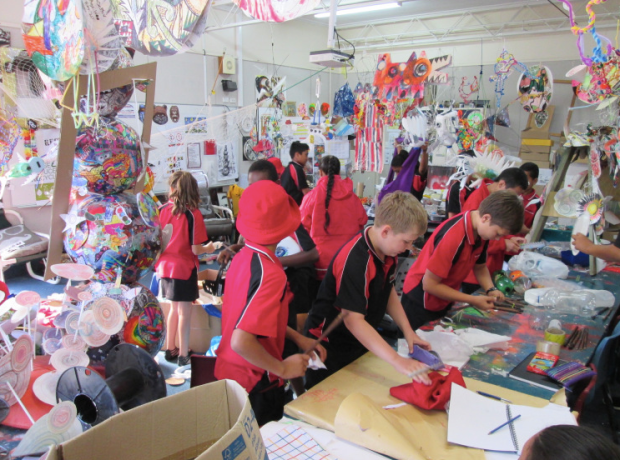
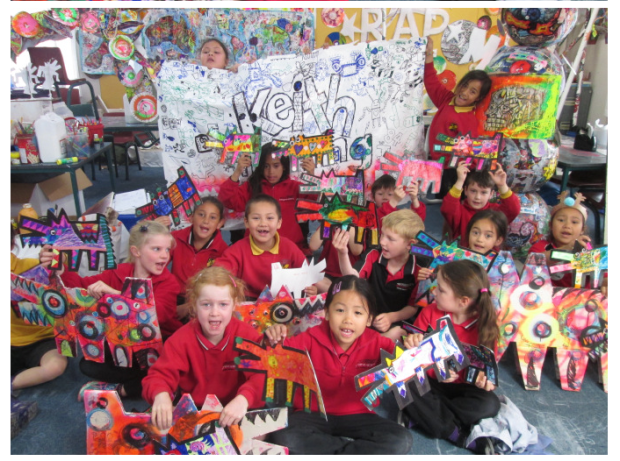
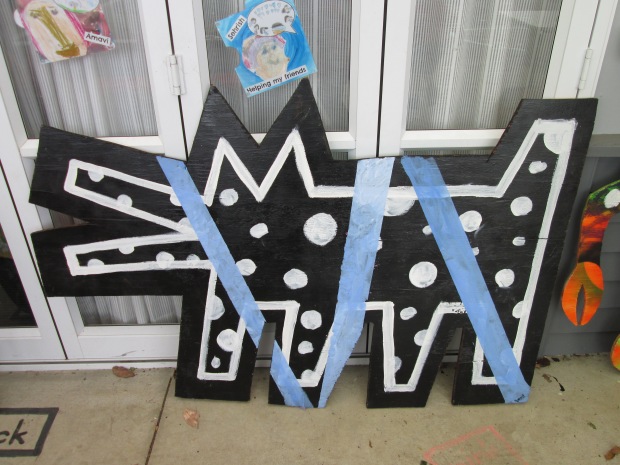
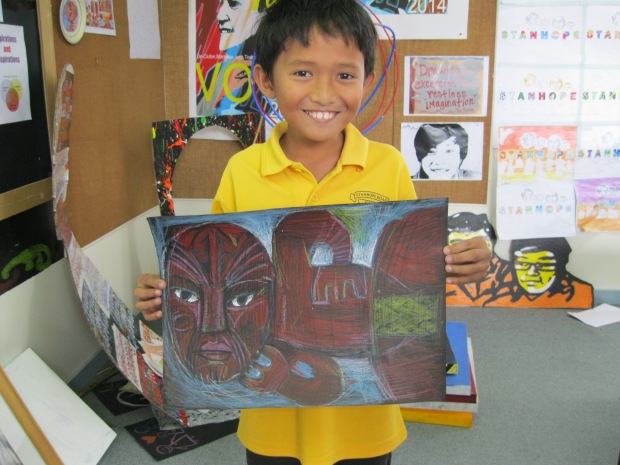
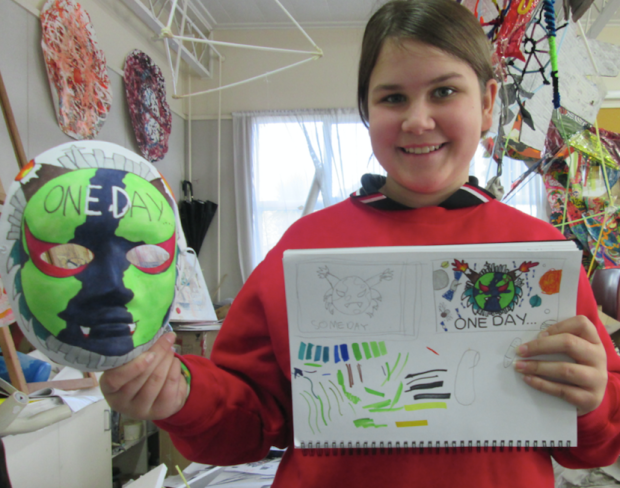
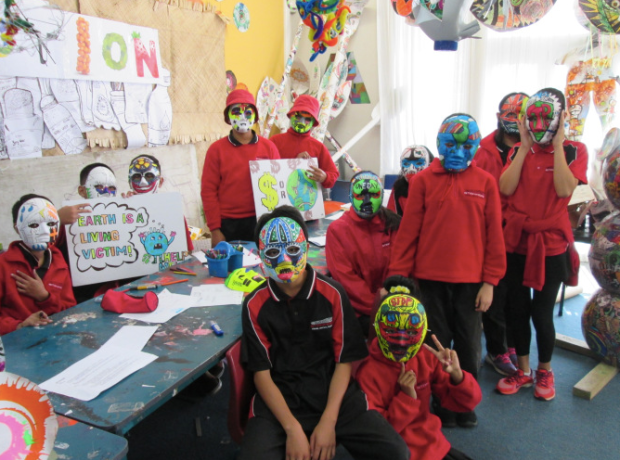
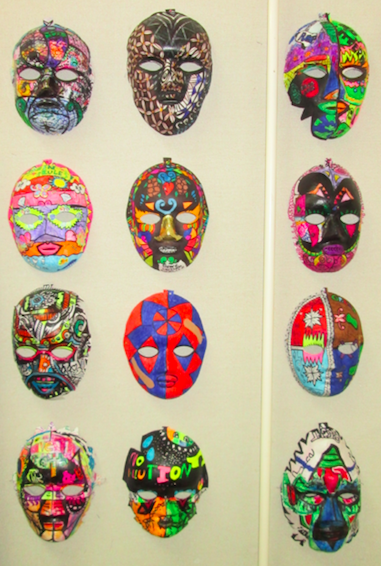
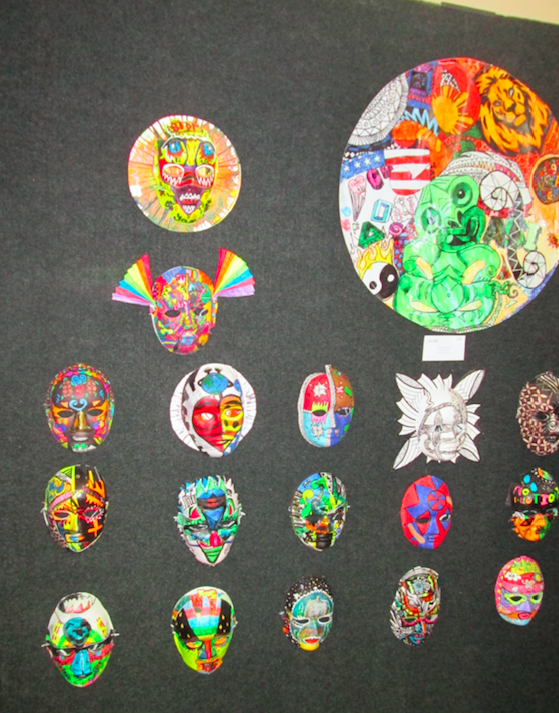
 Best collaborative on show 2016 . Stanhope Road school.


